THE SMA HANDBOOK ARCHIVE
A Motion Blur Tutorial
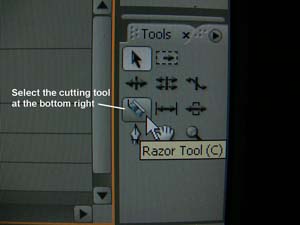
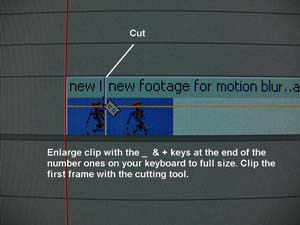
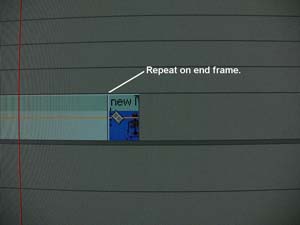
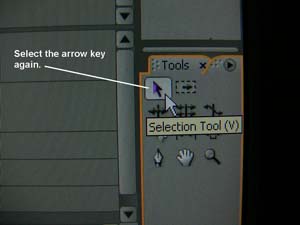
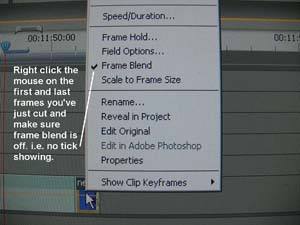
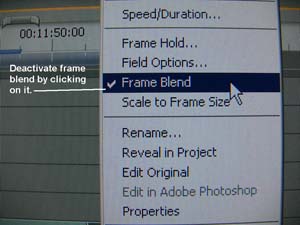
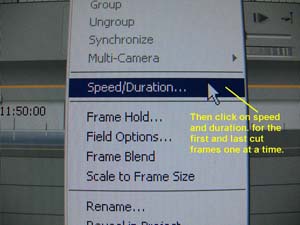
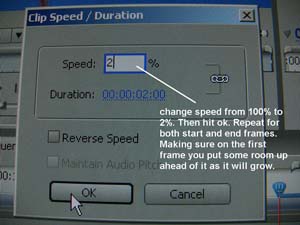
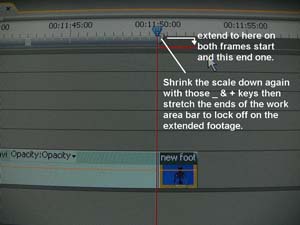
Step 1: After capturing footage from camera. Add section for blurring to the timeline with no audio. Be sure once this is done to take the first frame and last frame of the sequence you've just placed and cut them with the Cutting tool. Right click the mouse on each and alter speed also be sure to switch off frame blend at this stage. Alter the time of each to about 3%. This will cause the last frames to freeze.
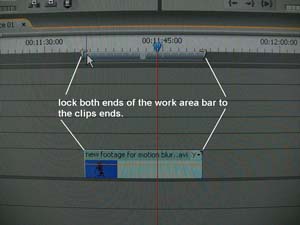
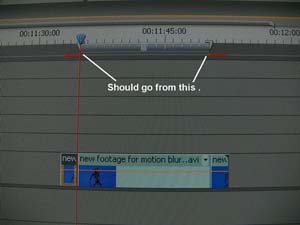
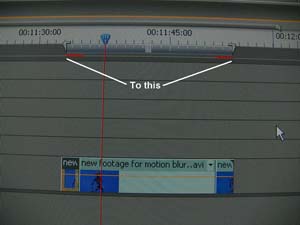
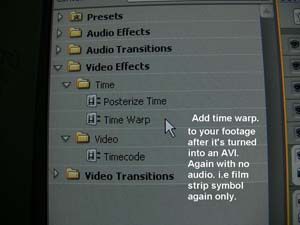
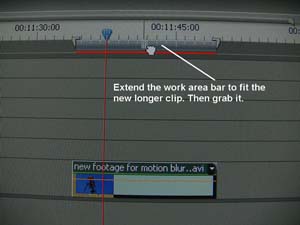
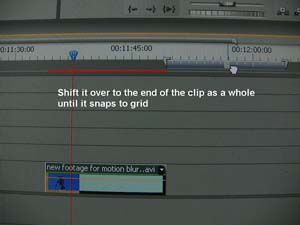
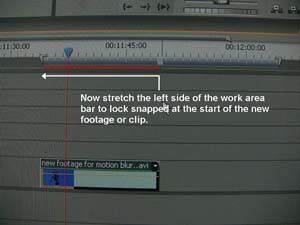
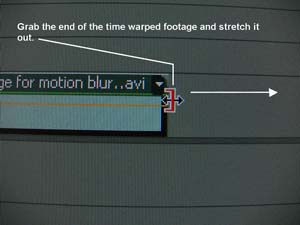
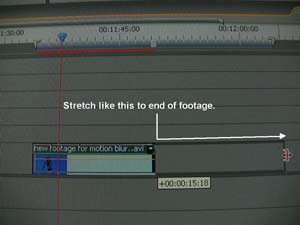
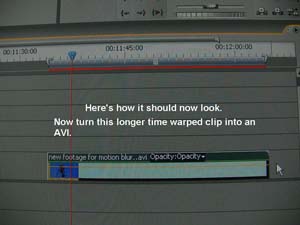
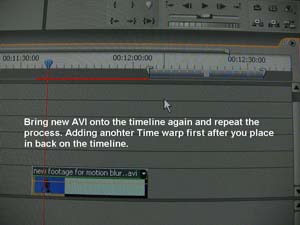
Step 2: Make an AVI of the sequence and return to the project. It should do this anyway if you told it to during the set up of said project. Once it's back in. Take the sequence and place back on the timeline. Make sure the work area bar is lined up to the start and finish of the clip. Now go into effects. Select TIMEWARP. Add this to the sequence. Do not touch any of Timewarps setting unless you want to tweak anything. This though is not needed. Once you've done that Grab the work area bar keeping it the same size as the sequence to the end of the clip. It should be the same length but with nothing under it. Now stretch the footage out to reach the work area bars end. Then extend the start of the bar to the start of the clip. You will now have a clip twice the length of the starting one. TURN THIS INTO AN AVI. And return to project.
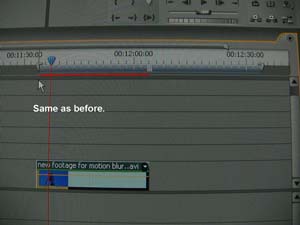
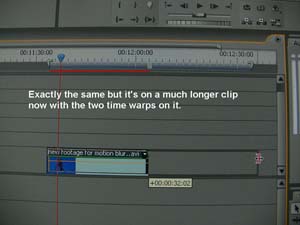
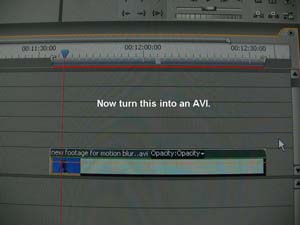
Step 3: Repeat this process and you'll end up with a clip four times as long after you add the second timewarp and so on as before. Turn this into an AVI.
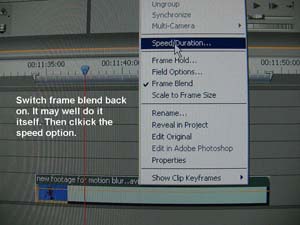
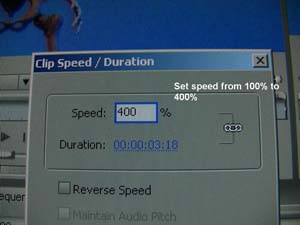
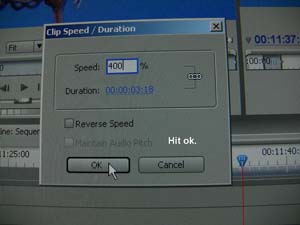
Step 4: Take this new very long clip and place on timeline. Now right click mouse again and make sure frame blend is on. But this time change speed. Accelerate footage to 400%. This will return it to it's original speed when captured. Now add the audio from the master footage and you have very very authentic motion blur on your stop-motion.
Step 5: Make AVI to keep.
This effect can be used for so many things. Just have fun with it. Keep in mind this technique works best with smooth animation, not jerky fast work.
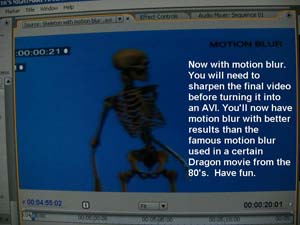
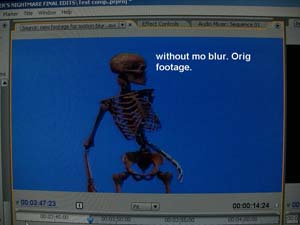
View sample video of motion blur technique by clicking here.
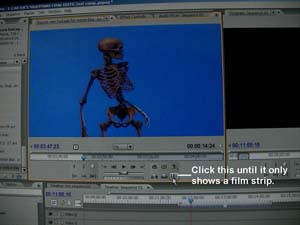
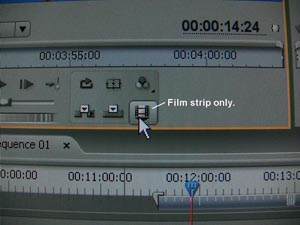
Step by step tutorial below. Click on images to view larger version.
